Constructed "Real" Holster Example 1
Submitted by: Gary Marbut, Missoula
Student at Montana college or university: No
I
agree that the design material submitted here may be put into the
public domain.
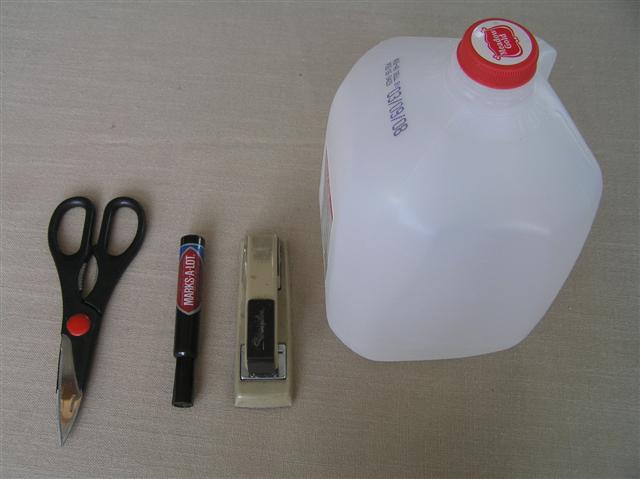
Materials and tools
1 empty 1-gallon milk, water or juice plastic jug
1 pair of scissors
1 black marker
1 stapler
Procedure
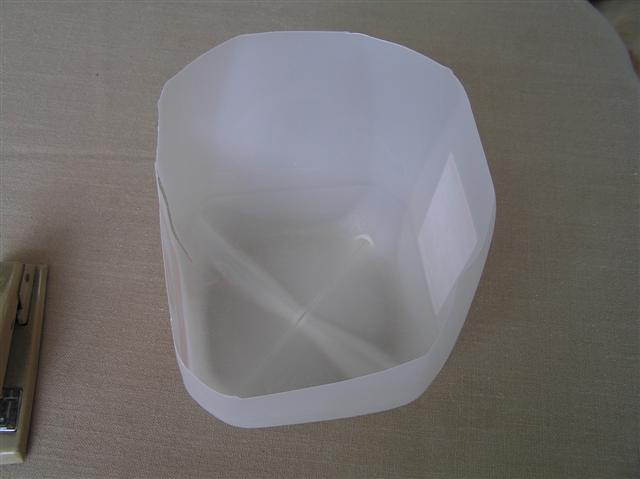
Cut handle and top out of jug like this
Cut remainder of jug according to this pattern
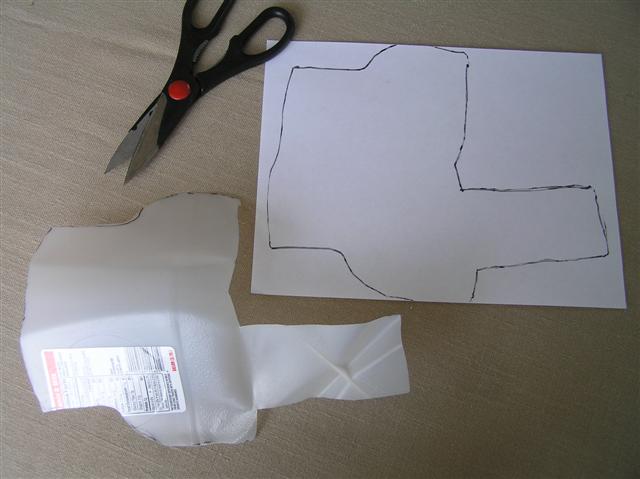
The flap on the right comes from the bottom of the jug.
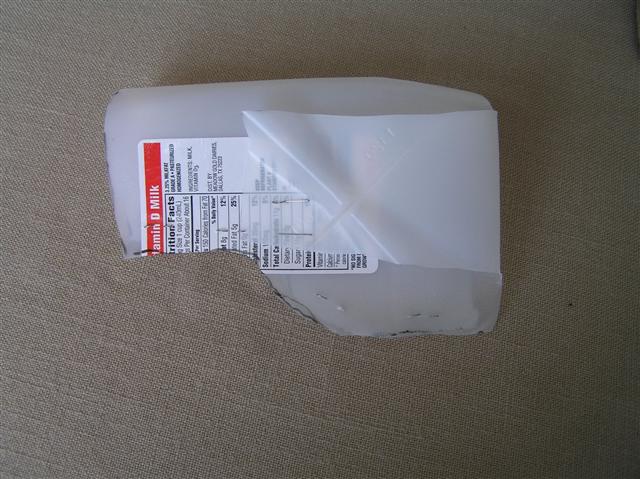
Fold the flap from the bottom over until touching the label and staple
it into place. Then, bend (not fold) the two sides (A and C in
the attached pattern) until outside edges (A1 and C1 in attached
pattern) come together and staple along edges. It should look
like this:
Trim around the edges a bit. The purpose for the flap folded from
the bottom of the jug is to provide a loop for your belt to go through.
Then, color with the black marker. Your holster will look like this:
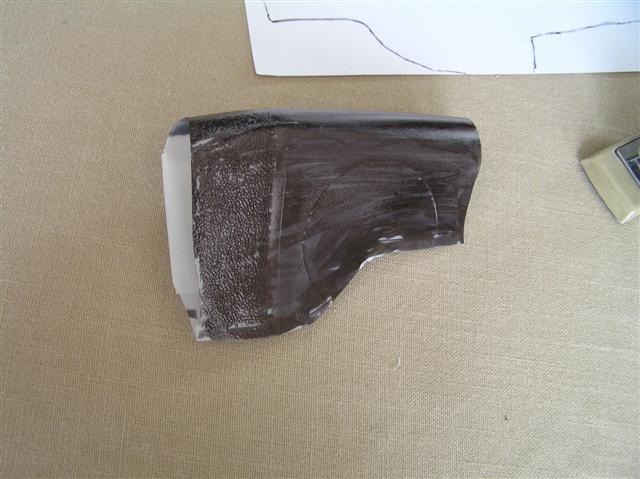
OK, so you color with a marker better than I do. That never was my strong suit.
Thread your belt through the belt loop and your new holster should look like this:
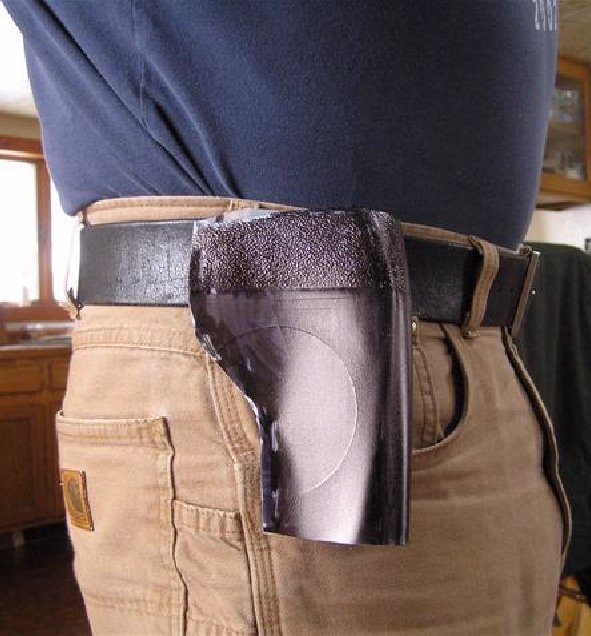
Close enough!